
Describe what you see.
Choose the crop and observation first. Compare possible explanations, then record the evidence a crop adviser would need.
Start with what you can see. You do not need a meter to record an observation; leave unknown readings blank.
Possible causes to investigate
The number of completed fields does not establish diagnostic confidence. These are working hypotheses, not confirmed causes. The list uses only your crop and symptom selection. Written notes and readings are retained for review; they do not change or rank these causes.
Begin with the crop, not a disease name.
No causes are shown until you choose a cultivated mushroom and an observation. This tool does not analyse uploaded photographs.
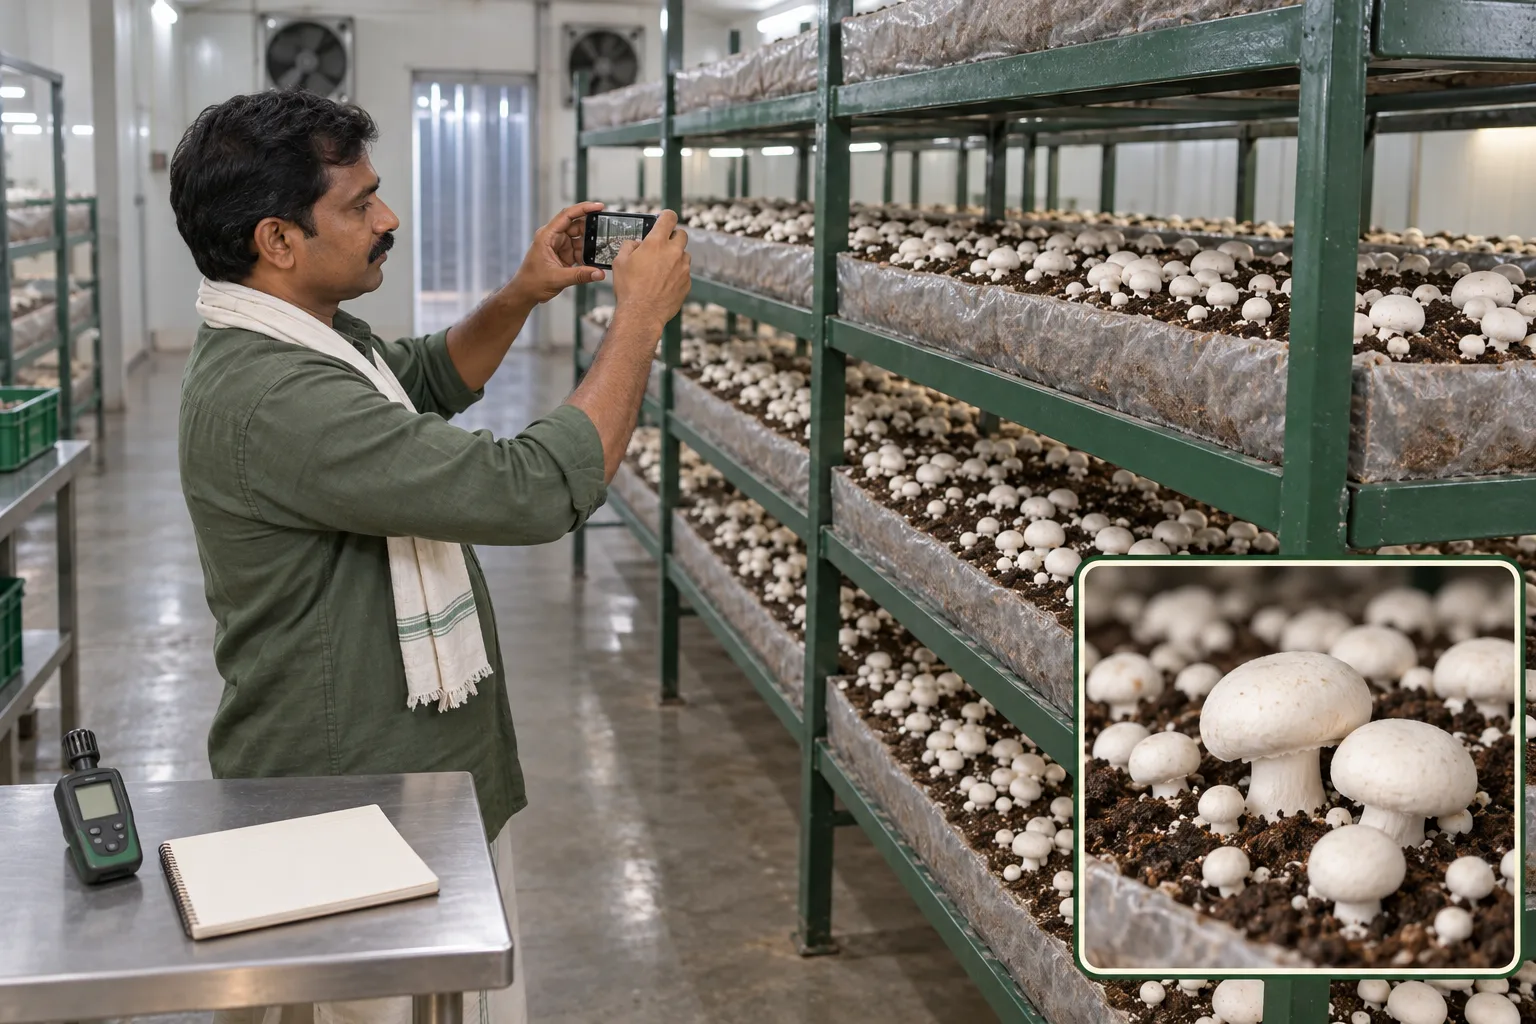
See how to photograph the problem →Compare the published Button mushroom photographs →Diagnostic photo set
Capture technical evidence, not a beauty shot.
- Whole bed
- Affected area
- Close-up
- Side view
- Healthy comparison
- Room context
Image assistance is not active. Keep the photographs on your device and share them directly with a qualified adviser. This page does not upload or analyse them.
See the symptom. Check the cause. Act carefully.
Real research photographs with practical, nonchemical first steps. These examples come from published studies, not MushroomWale farms. Resemblance is a clue, not confirmation of disease in your crop.
- 01Observe the crop and record the pattern
- 02Limit transfer to clean areas
- 03Check the diagnosis and follow a response plan
- 04Review the next crop for recurrence
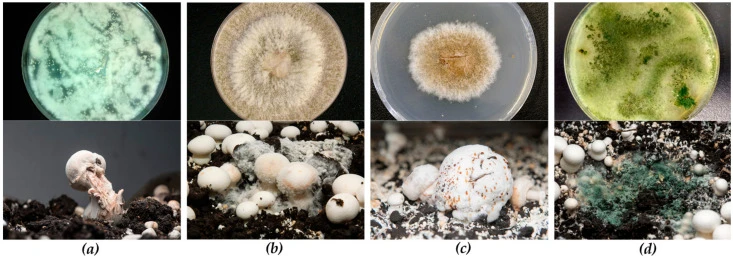
Dry bubble
Look for malformed mushrooms, split stems or wart-like growths. Later infection can appear as grey-brown cap spots; the appearance changes with crop stage.
- What to do first
- Mark the patch and do not pick out or handle dry bubbles. Avoid splashing exposed affected tissue. Have a trained supervisor contain the patch using the linked extension procedure.
- Reduce the chance of recurrence
- Keep casing, casing equipment and clean tools protected from contaminated dust and debris. Check fly control and movement of people between rooms.
- What can look similar?
- Wet bubble and other causes of spotting can look similar. A photograph cannot identify the pathogen; ask for specialist examination when the pattern is unclear.
- What to record
- Record when the first affected mushrooms appeared, their bed positions, watering history and whether new spots developed nearby.
Wet bubble
Irregular swollen tissue, severely distorted mushrooms and amber droplets are useful clues. Decay can develop as affected tissue deteriorates.
- What to do first
- Mark the area and avoid splashing it. Once wet bubble is identified, trained staff can carefully enclose local affected material in a disposable bag, seal it and follow the farm's containment and disposal procedure.
- Reduce the chance of recurrence
- Protect casing and water supplies from soil, dust and crop debris. Keep clean equipment away from contaminated floors and spent material.
- What can look similar?
- Do not apply this removal approach to an unidentified bubble: dry bubble handling differs. Ask a crop-health specialist to distinguish them.
- What to record
- Record the casing lot, first affected location, water source, spread after watering and photographs before intervention.
Cobweb disease
Watch for an expanding cottony surface growth across casing and mushrooms. Older growth may become powdery, with spotting or a pinkish tinge.
- What to do first
- Mark the patch before routine watering. Do not brush, blow or spray exposed growth. Arrange gentle containment by trained staff, following the extension procedure and the room's crop-management plan.
- Reduce the chance of recurrence
- Inspect before watering, control dust and crop debris, and clean equipment between rooms. Review how air movement and watering could carry material from an affected patch.
- What can look similar?
- Normal mushroom mycelium and other moulds may look white. Rate of spread, location and examination of samples matter more than colour alone.
- What to record
- Photograph the same marked area over time. Note nearby spotting, recent watering and which rooms shared tools or staff.
Green mould observation
A dense white patch may later become green as spores form. Poor cropping can accompany the affected area, but colour does not identify a mould species.
- What to do first
- Flag the batch and restrict movement of affected material, tools and staff into clean areas. Do not shake bags or brush spores off beds. Obtain advice on containment and whether the crop should continue.
- Reduce the chance of recurrence
- Review compost preparation, spawning hygiene and batch history together. Check cleaning and the validated end-of-crop treatment before loading another crop.
- What can look similar?
- Several moulds can appear green. Laboratory identification may be needed to establish whether Trichoderma is involved and which species it is.
- What to record
- Record whether growth is in compost, casing or surface debris, which input lots are shared, and whether other rooms from the same batch are affected.
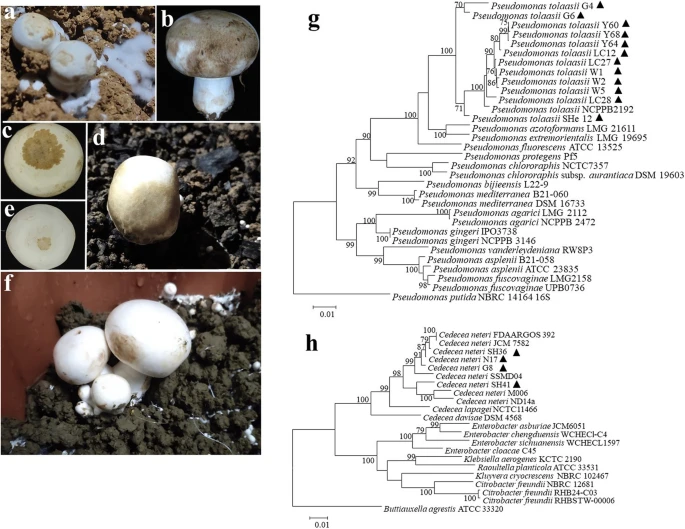
Bacterial blotch
Yellow-brown to dark brown superficial patches may occur on caps, including places where mushrooms touch or surfaces remain wet.
- What to do first
- Check actual cap wetness after watering and look for condensation. Correct water timing and air distribution with the crop supervisor so surfaces can dry without desiccating the crop.
- Reduce the chance of recurrence
- Avoid persistent wet surfaces, uncontrolled temperature swings and splash transfer. Clean handling equipment and compare conditions across the room, not only at the wall sensor.
- What can look similar?
- Bruising, fungal spots and other bacteria can produce browning. The photographed study found more than one bacterial cause; matching a picture is not a species diagnosis.
- What to record
- Note when spotting appears relative to watering, picking and packing. Record wetness, condensation and affected positions before changing settings.
A useful photo set tells a story.
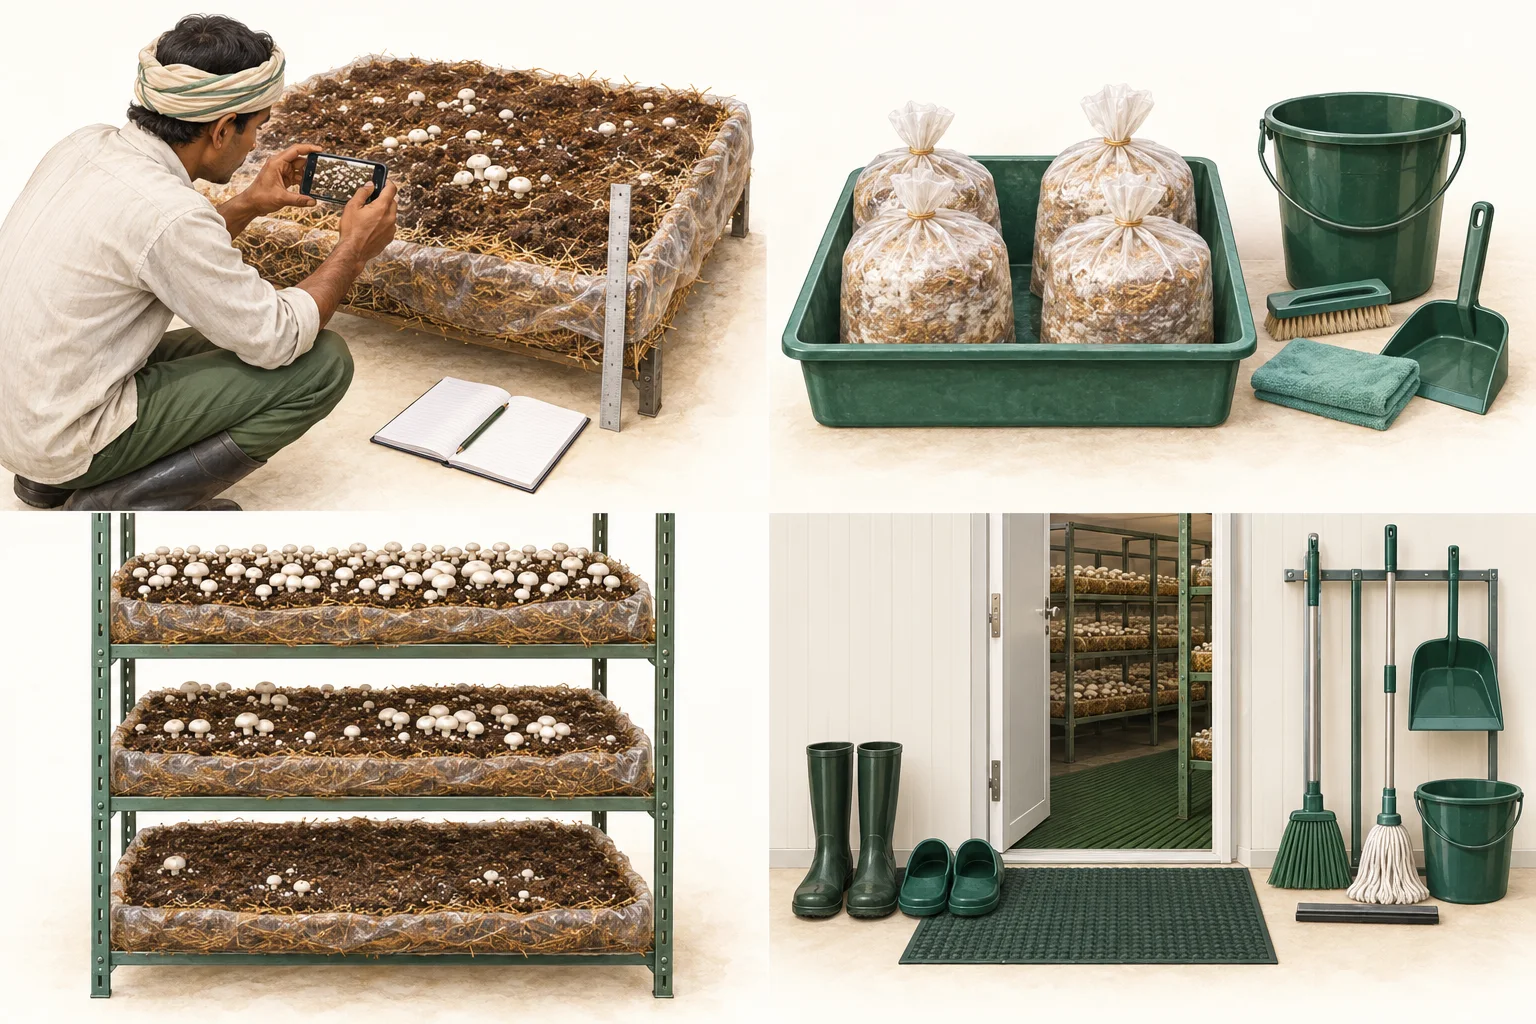
Take photographs before changing conditions. Do not open suspect bags, brush growth or move affected material through clean work areas to get a better picture.
AI-generated illustration of documentation—not a diseased crop or diagnostic evidence.
- 01
Whole bed
Show which rack, shelf and bed are involved. Keep an unaffected area in view where possible.
- 02
Same patch, closer
Photograph the surface and a side view without disturbing suspect growth. Repeat from the same position.
- 03
Healthy comparison
Use the same crop, stage and lighting. Differences in crop age can otherwise mislead.
- 04
Room and record
Add the date, batch, first observation, watering history and readings with locations and units.
Trace the claim and its limits.
Pathogen biology, dated advisories and current regulatory status are stored separately.
ICAR-DMR Technical Bulletin Library
Institutional publication index for disease, farm-design, post-harvest and spent-substrate references.
Open sourceICAR-DMR Crop Advisory
Dated Indian seasonal crop-health, hygiene and pest observations.
Open sourceDirectorate of Plant Protection, Quarantine and Storage regulatory functions
Indian pesticide registration and regulatory-governance context under the Insecticides Act and Rules.
Open sourceChemical governance is a publication gate.
No operational pesticide, fungicide, insecticide, disinfectant or fumigant dose is published. Historical references are not current labels.
- Current operational dose
- Not published
- Mushroom crop label
- Not established by this record
- Review status
- Regulatory review required